Create Empty Angular Project
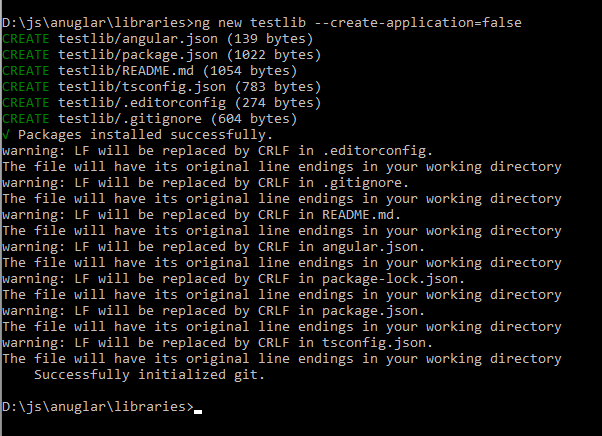
First of all, we need to create empty angular project by following command line. Note that we are developing from scratch. So, please start with appropriate library name which can be used in your angular project or published to npm.
ng new testlib --create-application=falseWhen you run above command line, it will create empty angular application. It means, there is no app folder created inside the angular project. Here, the flag --create-application=false is the reason for empty angular project.
Create Our Library in Angular Project
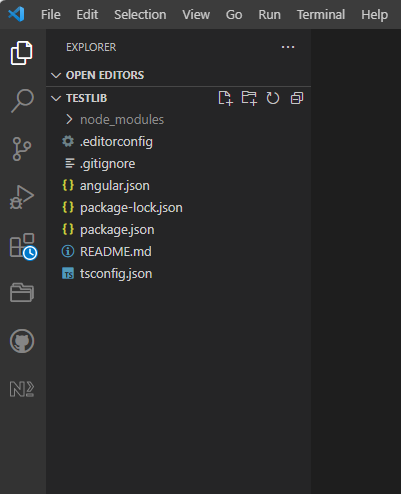
The next step is our main thing. We need to create library for our own angular library creation. For this, open the newly created project with your favourite editor. Here, I m using VS Code. When you open the testlib project in VS Code, you will have below in your project.
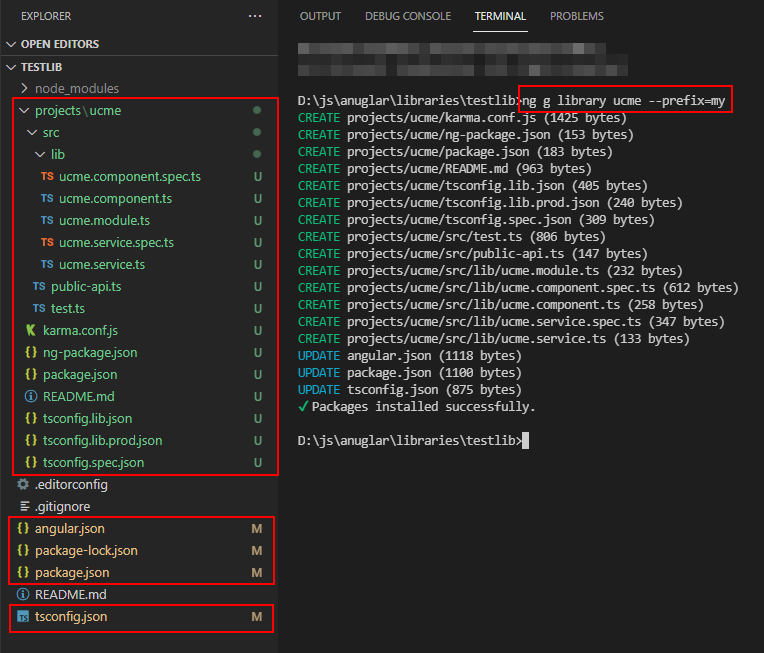
This is time to create the library. We can create the new library by following command line
ng g library ucme --prefix=myYou can see the new folder created in your project. It look like our normal angular application folder structure. Yes, it will also have modules, component which is created while we create library. You may remove those default files inside the lib folder. The above command line will create below modfication in our project.
We deleted default files from lib folder except component and module files. The lib folder look like below.
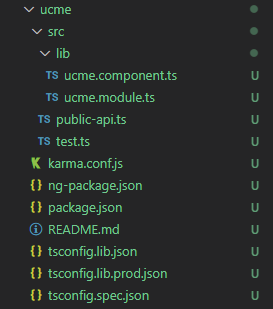
After that, we modified the component file with below (please remove space between < and div> and also in between < and ./div>),
import { Component, Input, OnInit } from '@angular/core';@Component({ selector: 'my-ucme', template: ` < div>{{myData}}< /div>`, styles: [ ] }) export class UcmeComponent implements OnInit { myData:any; @Input("dataInput") dataInput: string=''; constructor() { }ngOnInit(): void { this.myData=this.dataInput.toUpperCase(); } }
and also we modified the public-api.ts like below
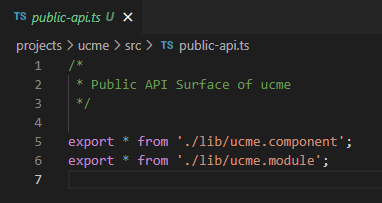
Create Application in Angular Project
Our library is now ready. Now we want to test our library with application. For this, we need to create application in our project.
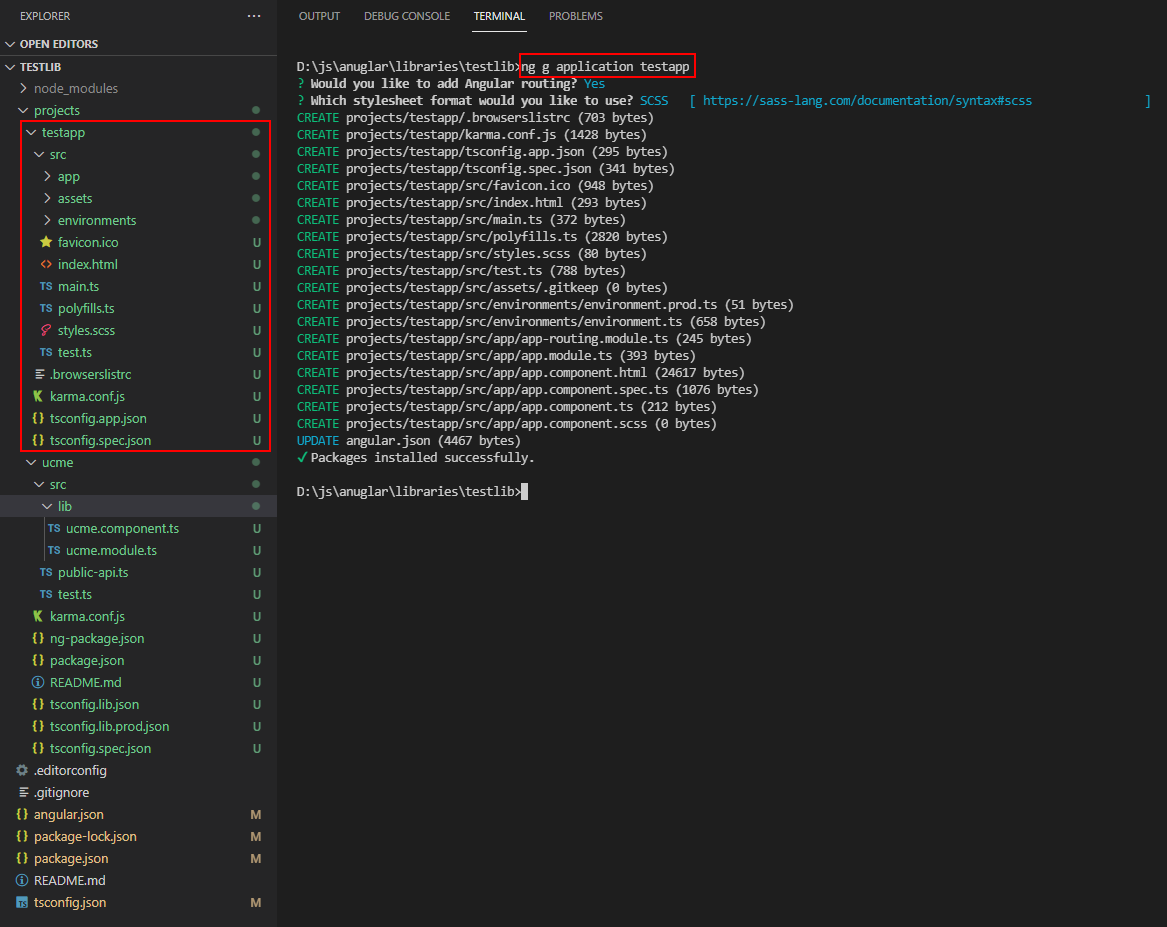
ng g application testapp
This will create additional folder inside the projects folder look like as below.
To test our library, we need to modify the app.module.ts and app.component.html. Follow the below modifications,
app.module.ts
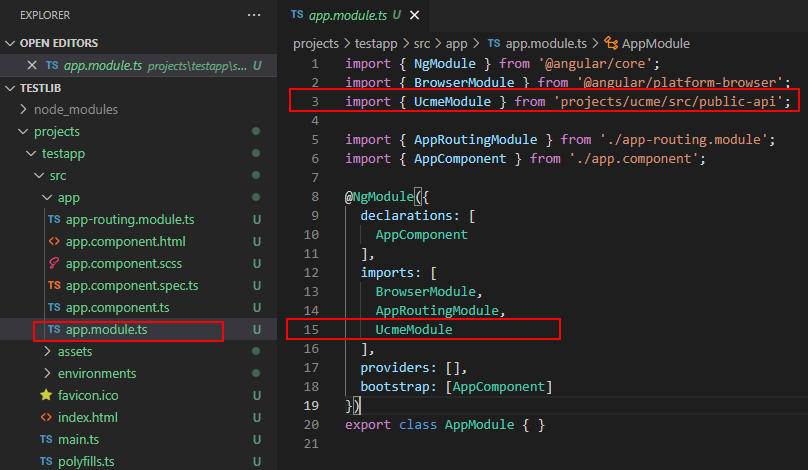
app.component.html
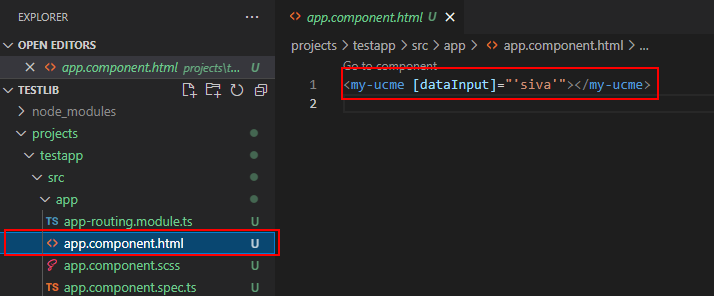
To test our library
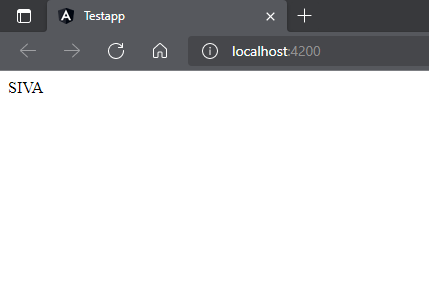
We are now ready to test our library. Run below command line,
ng serve -o
If you get below result, then our library is working fine without any issue.
Packaging our library
We can package our library either in local or npmjs. First we look into building our library and then move into packaging.
By using below command line, we can build our library. We should use library name followed by the flag "--project".
ng build --project=ucme
Once we executed the above, we will get below result and below new folder in our project.

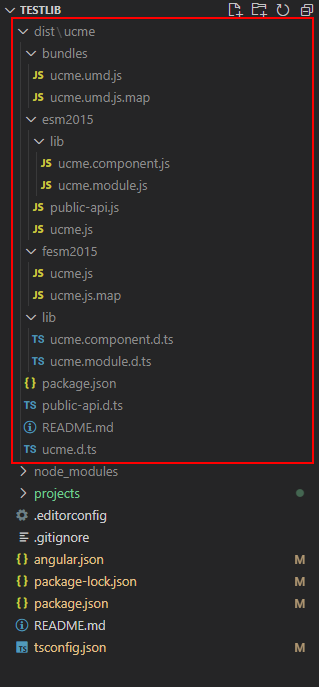
Now, our library ready to package. If we want to local build, then we can use below command line. For packaging, please make sure you are in library folder inside dist folder.
> cd dist/ucme> npm pack
Once our package ready, you can see ucme-0.0.1.tgz file inside the dist/ucme.
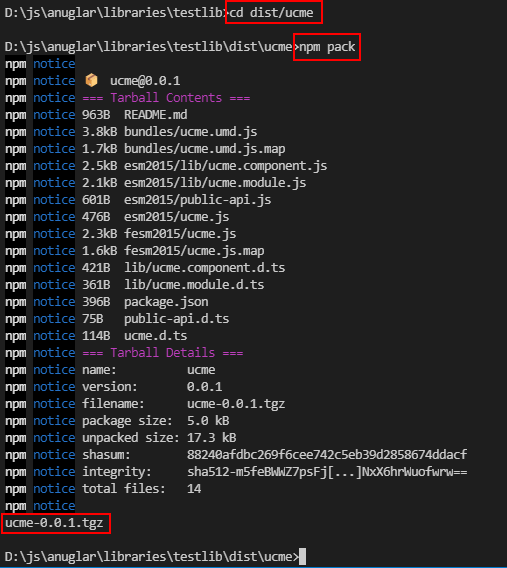
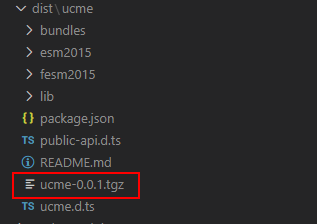
With the ucme-0.0.1.tgz, you can install locally.
Now we are going to publish build library into npm. For this, you need to login NPM in command line with below command. You may ask to enter verification code after enter user name and password.
npm login
Once we logged in successfully into NPM in commandline, now we need to do some changes on package.json inside dist/ucme. We have modified the package.json below.
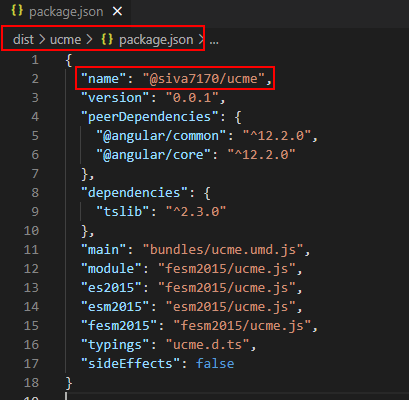
Here, @siva7170/ucme is package name but scoped one. Because the name is started with @. The siva7170 is the username of NPM.
But, we will face one issue when we push into NPM. We use usually below command to push into NPM
npm publish
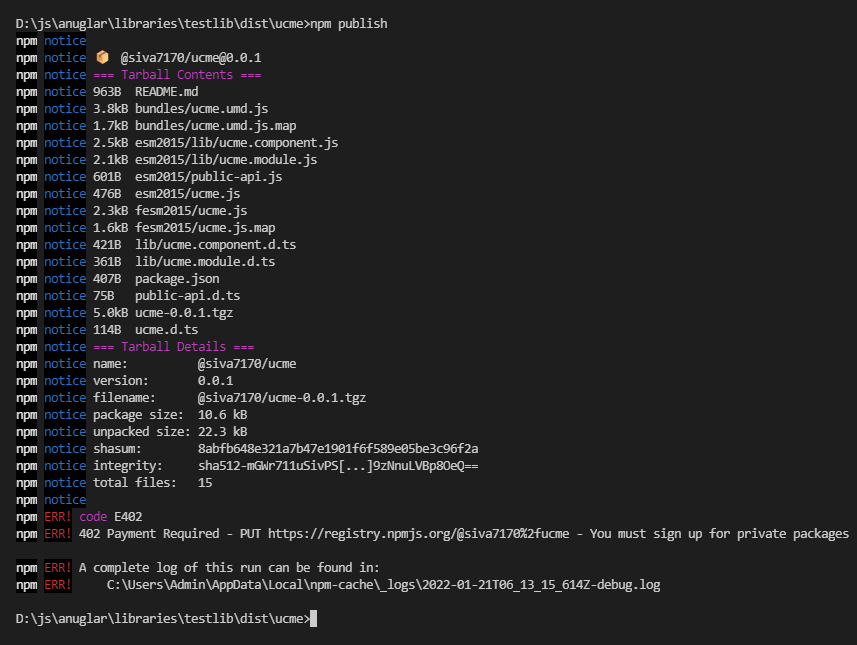
We got the above error. Because, when we publish scope package to NPM, then our account should be premium account or we should publish our package into NPM with publish access.
To overcome this issue, we use below command line when we would like to publish with public access.
npm publish --access=public
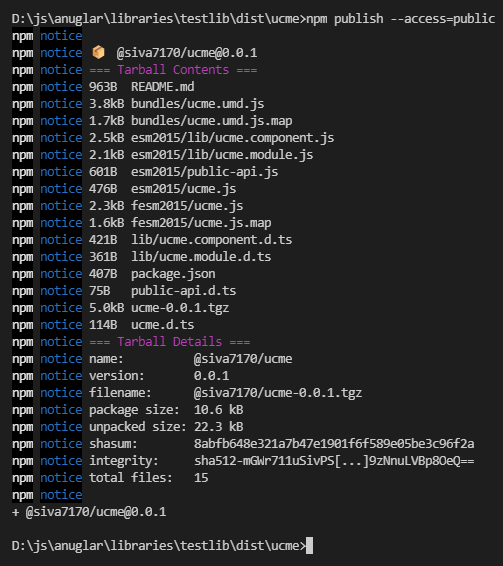
Now, we are ready to use in our angular project.
Use in our Angular Project
With ucme-0.0.1.tgz,
npm install < folder path >/ucme-0.0.1.tgz
With NPM,
npm install @siva7170/ucme


